Monday, December 24, 2018

Christmas and foil

I have often seen cardmaking videos on YouTube where folks have included foil into their creations. The beauty that the foil brings to the card was always breathtaking. When I learned that I could foil with adhesive, I decided that I had to try it.

I created 20 Christmas cards using these 3 designs in various patterned paper variations all with the die cut in the opposite color to the sentiment matte. I embossed the card panel with a Darice snowflake embossing folder. I gold heat embossed the sentiment using a stamp from my stash.


Sunday, December 23, 2018

Anniversary

This month hubby and I celebrated our anniversary. Despite being so time-strapped, I wanted to make him a card. I had this cute silhouette die in my stash and decided this was a good time to use it.


Thursday, December 6, 2018

New to me artist

Today I want to introduce a new-to-me artist to you - Lemon Shortbread. Vera is the sponsor at this month's challenge over at Crafting with an Attitude and this is my DT project. I chose to work with Watering Fairy.

I printed the image out onto Canson Mi Tientes paper and colored it with my Prismacolor colored pencils. I then cut the image out with a stitched rectangle die, but adjusted the size of the panel by doing some partial die cutting.


Saturday, December 1, 2018

A journal page with Oddball Art

It is time for a new challenge over at Crafts Galore Encore Challenge Blog and this month our sponsor is  Oddball Art. The challenge winner will receive $10 coupon to spend at the store.

The design team was provided 3 images to work with and I got Christmas Holiday Alex. I was not really sure how to use her, being that she looked so sad in her Christmas outfit. But then an important point came to mind and so I set about working in my art journal. 


Thursday, November 1, 2018

Bowbo's Music

I am back with another DT project for the new challenge over at Crafting with an Attitude. This month the challenge is sponsored by Lacy Sunshine and I chose to work the with image called Bowbo's Music.


The empty chair

It is time for another challenge over at Crafts Galore Encore and this month our sponsor is Beccy's Place and the winner will get one free set of digital stamps.

I chose to work with the rocker from the Gran's Chair set. My concept changed from choice to implementation and so the card became a sympathy card. While coloring the basket I thought the empty chair lent itself well in that direction.


Sunday, October 7, 2018

The Fantasy Hat

I am back with another card today. I had this image called Fantasy Hat by Julia Spiri printed out for a while and now it finally got colored and converted into a card.


Thursday, October 4, 2018

Sending Hugs

Today I am crafting for the Crafting with an Attitude October challenge. The sponsor is Skeepski Designs and I opted to use Sleep Tight for this simple card.


I printed the image onto Strathmore Paint Pad paper and colored it with my Prismacolor colored pencils. I wanted to keep the card predominantly in shades of brown with a pop of blue.


I added a strip of blue patterned paper to the right hand side of a brown card base and put the image on the middle at an angle.


I completed the card by using the Sending Hugs sentiment from the Hero Arts Share Handmade Kindness stamp set with Versafine Onyx Black ink and adding clear embossing powder.

General supplies:
Strathmore Paint Pad paper
Paper studio brown cardbase
Sheepski Designs Sleep Tight digital stamp
Prismacolor pencils
Patterned paper
Stamp from Hero Arts Share Handmade Kindness stamp set
Versafine Onynx Black ink
Clear embossing powder

Entered into the SheepSki Designs Digital Stamps Facebook Group Challenge #28
Entered into the Classic Design Team Open October Challenge # 10
Entered into the Stempelsonne Anything Goes Challenge #206
Entered into the Crafting with Friends Just for Fun Challenge #74
Entered into the Penny’s Paper-Crafty Anything Goes Challenge #400
Entered into the Love to Craft Anything Goes Challenge #27
Entered into the Colour Crazy Anything Goes Colouring Challenge Week 39

Monday, October 1, 2018

National Coffee Day

September 29 was National Coffee Day. Well, what is better than some of that smooth, hot brew in the morning (or any other time of the day, for that matter). I used the freebie stamp from Limited Runs Stamps for my coffee project.


I decided that I was going to do an entry in my art journal for this project. My art journal is a disc bound one. I particularly love this style as I can take the pages out while I am working on them and then pop them back in when I have completed the page.

I printed 3 of the images onto Strathmore Paint Pad paper - one bigger one and two smaller ones. I colored the images with my Prismacolor pencils, making sure to make the bright, interesting and unusual for coffee cup colors. I then fussy cut each cup out.


The background of my page is painted with black acrylic paint. I had to apply 2 coats to get it really black. I then stamped some different options on the page using my Concord and 9th Perfectly Penned stampset and silver ink. I sponged some Vintage Photo Distress Oxide ink onto a piece of white cardstock and cut the C O F F E E out of it and then placed the letters over the background so that it adds focus, but do not cover the background words.


I printed the sentiment out in size 12 Arial font on my computer and cut it into two sentiment strips which I added to the bottom corner of my page. Lastly I added a few highlights and details with my white gel pen.

Coffee can come in various containers which come in different shapes, sizes or colors. It is the contents of the container that is important. So it is with us as humans. It matters not what we are like on the outside. That our inside is kind and respectful of others is what matters.

General supplies:
Strathmore Paint Pad paper
Canson XL Watercolor paper
Limited Runs Coffee Cup digital stamp
Prismacolor pencils
Black Acrylic Paint
Vintage Photo Distress Oxide ink
Concord and 9th Perfectly Penned stampset
Encore Metallic Silver ink
Alphabet dies from my stash
White gel pen


Christmas Carolers

I am excited to be able to share my first project as a DT member at Crafts Galore Encore. This month the prize is being sponsored by Limited Runs - which is a new-to-me digital art studio. I got to work with the image Christmas Carolers from the Christmas seasonal section. The idea for this card was right there when I saw this image.


I printed the image out onto my usual favorite coloring paper, namely Strathmore Paint Pad paper and colored it with my Prismacolor colored pencils. I created the background with Crayola Watercolor paints on Master's Touch Watercolor paper, painting the colors on with free abandon.  I cut the background to 3.5x4.75 inches and glued it onto a white cardbase.


I fussy cut the colored carolers and popped them up in the corner of my card with foam tape. I wanted them to be a focal point, despite them being in the corner.


I die cut the nativity scene from vellum and liberally applied glue to the back so that it would reactivate the watercolor under the vellum and so transfer some of my paint onto the scene as I wanted it to be a background element on this card. I stamped the word peace and the star with Versmark ink and white heat embossed them. I completed the card with a few added stars that I drew in with my gel pen. I love how this card turned out.

General supplies:
Strathmore Paint Pad paper
Master's Touch watercolor paper
Reflections 110lb heavyweight cardstock for card base
Limited Runs Christmas Carolers digital stamp
Prismacolor pencils
Crayola Watercolors
Versamark Ink
White embossing powder
White Vellum
Nativity die from my stash
Stamps from my stash


Tuesday, September 25, 2018

Playing with watercolors

I have always admired the beautiful cards that I have seen others make with watercolor backgrounds and so it was time to try it myself. I taped a piece of Strathmore Paint Pad paper, yes the same paper I use for my pencils, down onto my glass mat and used my Crayola Watercolors and got busy. I applied water to the paper first and then dropped the paint on, but I found that the paper did better with pencils than with wet paints. So it needed a bit of help with a brush.


Once my 9x12 page was dry, I pulled out my dies from my stash and got busy. My first card has a wider frame cut from the paper and then popped up with foam tape. I placed a tea cup stack, also cut from the watercolor page in the center.


My second card has layered cardstock in green and yellow with the teacups cut in green and the inserts of the watercolor cut pieced into these cups.


The next card is a panel of the watercolor background with a circle of hearts cut in the center.


While making the previous card, the hearts and dots that cut out of the panel stayed in the die. So I applied glue to the back and added them to this card with a circle frame around them.


This card has the forest scene cut out of the watercolor background. I masked off the outer edge of the white panel and inked a sunrise background in the space with Memento dewdrop inks. I then added the white panel onto a blue cardbase.


And my final card is extremely simple. I die cut the children on the see-saw out of the watercolor paper and applied it to the front of a card as the only focal point. I love this card for its clean and simple look.


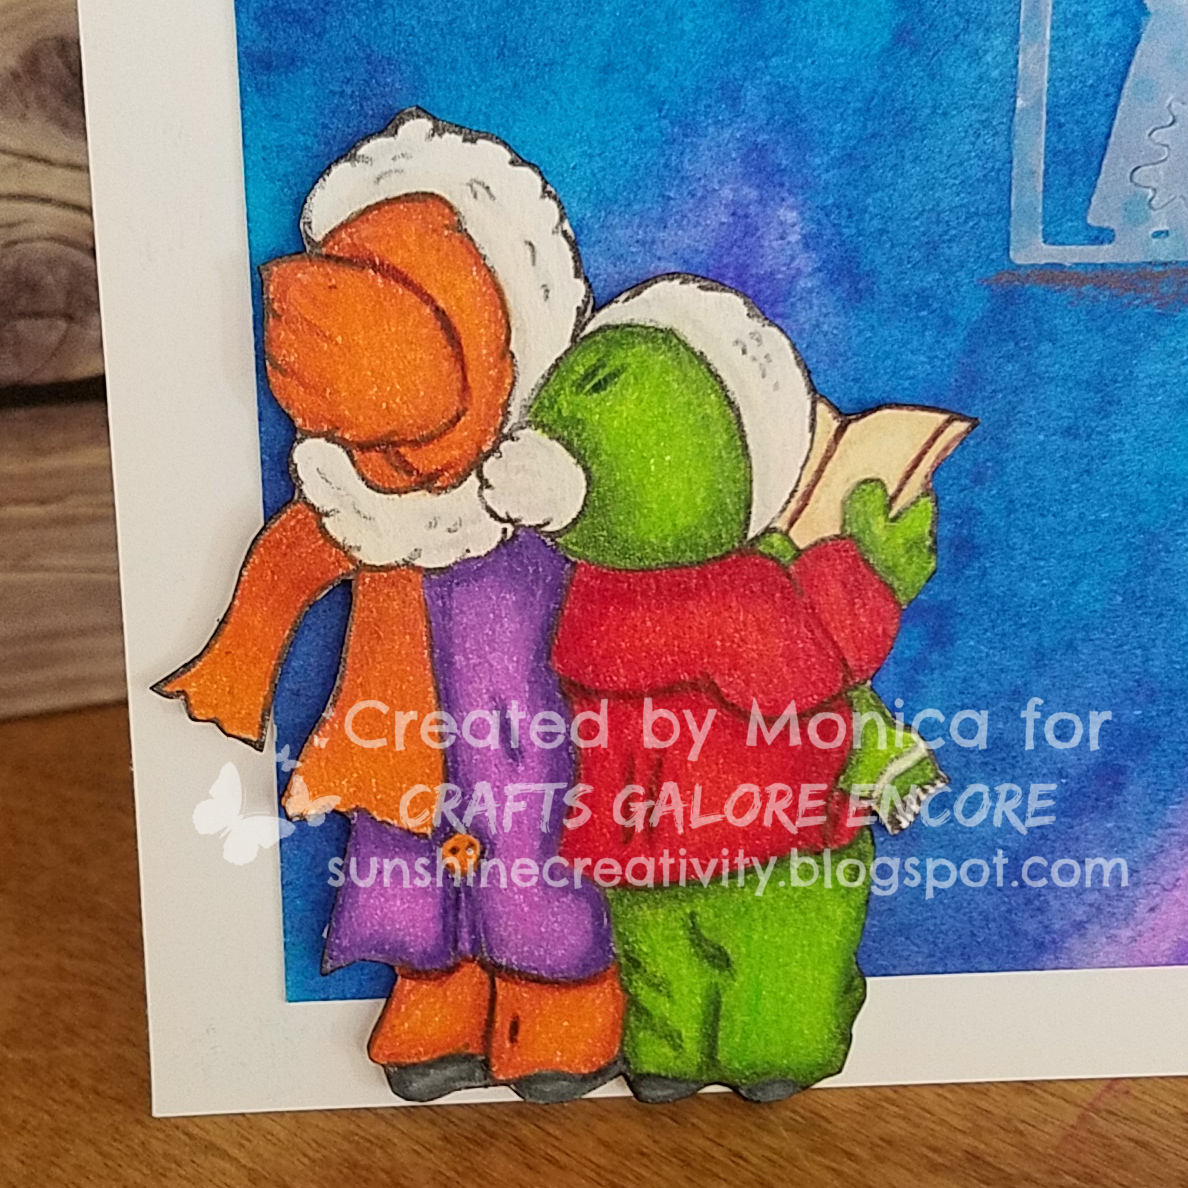
I did not add any sentiments to these cards as for the most part they can be used for any occasion and so I will apply the sentiment when I am ready to use the card. I will definitely be playing some more with this background technique.

General supplies:
Strathmore Paint Pad paper
Reflections 110lb heavyweight cardstock for card base
Paper studio blue cardbase
Crayola watercolor paints
Dies from my stash
Memento dewdrop inks

Entered into the AAA Cards CAS Game #124 - Imagine
Entered into the QKR Stampede Challenge #314 - Anything Goes
Entered into the Lil Patch of Crafty Friends Anything Goes Challenge #90
Entered into the 613 Avenue Create Anything Goes w/Optional Twist: Clean and Simple #213
Entered into the Artistic Inspirations Anything Goes Challenge #207

Monday, September 10, 2018

First try - Double Embossing

Now that my crafty friend has her Happy Mail, I can share this project. I enjoy watching various crafters on YouTube while I am hand sewing and partial and double embossing were techniques that immediately went on my "to try" list. I think it looks beautiful and elegant.Today was the day I got to try out double embossing.


To start my card I stamped a sunflower from Power Poppy's In Praise of Sunflowers stampset onto Canson Mi Tientes sand colored paper and colored it with my Prismacolor colored pencils. I cut the paper down to the width of the flower and then temporarily taped black cardstock to the edges to make a 4.25 inch wide panel. I then cut the bottom with a shaped edge die.


Then I moved on to the purpose of this exercise. I stamped my sentiment in the corner of a piece of white cardstock. I embossed the cardstock with the Darice Basketweave Background embossing folder using a chipboard shim to prevent the area around the sentiment from being embossed. I followed Nilda Rockenbach's instructions, modifying them to work with my project.


I then embossed with the tag die to create the frame and then assembled the card onto a side folding cardbase. I added three clear gems around the sunflower.

What I learned from this try: I would do the embossing first next time and then the stamping. I think it would be easier to line it all up better that way. Also, I would tape down my die on both sides and not just one as it seemed to have moved while running it through the machine and it is not quite straight anymore.

General supplies:
Sand colored Canson Mi Tientes paper
Reflections 110lb heavyweight cardstock for card base
Black and white cardstock
Power Poppy's In Praise of Sunflowers clear stampset
Stampabilities Everday Expressions stampset
Prismacolor pencils
Memento Tuxedo black ink
Darice Basketweave Background embossing folder
Stitched label die
Gems from stash

Entered into the Fabrika Fantasy Autumn Challenge #24
Entered into the QKR Stampede Challenge #312 - Anything Goes
Entered into the Lil Patch of Crafty Friends Anything Goes Challenge #89
Entered into the Crafting from the Heart Anything Goes Challenge #219
Entered into the Stempelsonne Anything Goes Challenge #205
Entered into the Artistic Inspirations Anything Goes Challenge #206
Entered into the Creative Fusion Arts & Crafts "Sunflowers" Challenge #4

Thursday, September 6, 2018

Bugaboo Stamps

It is time for another challenge over at Crafting with an Attitude and this is my Design Team project for the challenge. The sponsor this month is Bugaboo Stamps and since I love to color flowers, I chose to work with Flower Butterfly Corner.


I arranged the digi and my sentiment into a 4.25 x 5.5 inch notecard size space using MS Word on my computer. The font for the sentiment is Honey Script. I also love to use it to cut sentiments with my Silhouette machine. I printed it out on Stathmore Paint Pad paper and colored the image with my Prismacolor colored pencils.


I do love coloring flowers and so this beautiful digi was a pleasure to color. I colored the butterflies blue so that the were noticeable and did not blend into the flowers.


I did the background with soft pastels, creating a gradient of 4 colors from a light yellow, to a dark yellow to a light orange and then to a dark orange. I sprayed the complete panel with workable fixative before adhering it to a black cardbase.

General supplies:
Strathmore Paint Pad paper
Paper studio black cardbase
Bugaboo Stamps Flower Butterfly Corner digital stamp
Prismacolor pencils

Entered into the QKR Stampede Challenge #311 - Anything Goes
Entered into the Kleuren met Potlooden Everything is Allowed August Challenge
Entered into the Cute N Crafty Anything Goes Challenge #8
Entered into the Lil Patch of Crafty Friends Anything Goes Challenge #89
Entered into the Stempelsonne Anything Goes Challenge #205
Entered into the Alphabet Challenge Blog "L is for Leaves"
Entered into the Crafting from the Heart Anything Goes Challenge #218
Entered into the 613 Avenue Create Anything Goes w/Optional Twist: Clean and Simple #213
Entered into the Little Miss Muffet Challenge Anything Goes Challenge #197
Entered into the Daisy Chain Birthday Challenge #23

Saturday, September 1, 2018

Mixed Media Mice

The current challenge at the House Mouse Challenge blog is themed "Use a charm". How fun is that?


I created my card using the Catchin' Some Shade image from the Very Mice Coloring Book. I colored the mice, their towels and the umbrella with my Prismacolor colored pencils. I then did the sand with soft pastels, blending two shades of peach together and then sprayed the panel with a workable fixative. 


Once it was dry, I masked off two clouds in the sky and inked the sky by blending Memento Inks. I love the texture one gets from blending the inks on paper with a tooth. I then added a bit of shadowing to the clouds with my pencils as well as coloring the shells and adding some extra depth to spots in the sand. The workable fixative allows for more coloring over the top of it.


Using a stamp from my stash of wood mounted retired Stampin Up stamps, I added the sentiment with Versafine Onyx Black ink and put clear embossing powder on it.


To completed the card, I added the colored panel to a white cardbase and then glued a pewter starfish charm to the sand. While this card is completely one layer (well expect for the charm) it is truly mixed media in that I used pencils, soft pastels and ink to complete it.

General supplies:
Strathmore Paint Pad paper
Catchin' Some Shade image from the Very Mice Coloring Book Vol 1
Reflections 110lb heavyweight cardstock for card base
Krylon Workable Fixative
Prismacolor pencils
Soft pastels
Memento inks
Retired Stampin Up stamp from my stash
Versafine Onyx Black ink
Clear Embossing powder
Pewter starfish charm


Monday, August 27, 2018

Apple Girl

Today I have another card to show you. I participated in a fun card swap hosted by Stamp AnnieThing and everyone participating was to use the same image. It has been fun to see how everyone interpreted it. Here is mine


I printed the digi out on Strathmore Paint Pad paper and colored her with my Prismacolor colored pencils. I added small white gel pen dots on her dress. While coloring I also gave her a nose and pleats in her skirt.


Once she was completed, I cut her out using my Silhouette Cameo and PixScan mat. Using the trace line from the image, I created a second cut line by adding an offset that I then cut out of kraft cardstock to give her a shadow. I also cut a 5.5 x 5.5 background which you can see as flowers or as cubes, depending on your eyes.


I backed the cut background with red glitter cardstock before glueing it onto a cardbase. I die cut a small stitched oval shape and adhered a hello die cut to it which I had coated in 4 coats of clear embossing powder.

I hope my swap partner will love the card I made for her.

General supplies:
Strathmore Paint Pad paper
Reflections 110lb heavyweight cardstock for card base
Stamp AnnieThing's Apple Girl
White, kraft, teal and red glitter cardstock
Prismacolor pencils
hello and stitched oval dies
Clear embossing powder
Versamark ink

Entered into the QKR Stampede Challenge #310 - Anything Goes
Entered into the Lil Patch of Crafty Friends Anything Goes Challenge #88
Entered into the Cute N Crafty Anything Goes Challenge #8
Entered into the Fabrika Fantasy Anything Goes Challenge #23
Entered into the Kleuren met Potlooden Everything is Allowed August Challenge
Entered into the Stempelsonne Anything Goes Challenge #204

Friday, August 24, 2018

Embossed Bench

Today I have a card to show you hat has no coloring on it, well except a little for the background.


I stamped the image, a retired Stampin Up wood mounted stamp, onto Georgia Pacific cardstock with Versamark ink and embossed it with gold embossing powder.


Using blue and brown paints from my Crayola watercolor paint set, I "messily" added some color around the bench and then painted the ribbons on the hat and around the flowers with red. I cut this out with a stitched rectangle die and adhered it to a old gold metallic cardstock card base.


I completed the card with a thanks sentiment cut out of the same metallic cardstock and two shaped gems.

General supplies:
Reflections 110lb heavyweight cardstock for card base
White and Gold Metallic cardsstock
stitched rectangle die
Versamark ink
Gold embossing powder
Retired Stampin Up stamp
Crayold watercolor paints
thanks sentiment die
Shaped gems from stash


Monday, August 20, 2018

More bears

I purchased the Concord & 9th "Hi There Bear" stampset a good while ago and although I had used the bear before, I had not played with the set much. So yesterday I created 5 thank you cards with the stampset.


I used Memento inks throughout. The first two are stamped in Desert Sand ink. Their red bow-ties and the flowers use Love Letter and the greenery is Bamboo Leaves. The umbrella colors are Bahama Blue, Dandelion and Love Letter. Face and outlines are stamped in Tuxedo Black.


The pink bear is stamped in Angel Pink and the bow-tie and flowers are Rose Bud. The greenery is again Bamboo Leaves and the face is Tuxedo Black.


The two purple bears are stamped in LuLu Lavender. The greenery is Bamboo Leaves and the faces and balloon string is Tuxedo Black. The bow-ties, flowers and balloon are Lilac Posies.


All bears have a red glitter cardstock heart. The first four cards all have embossed dotted backgrounds to add some interest. However the fifth card needed to stay smooth so that I could stamp the balloon string onto the cardbase.


All cards were completed with a die cut Thank You sentiment.

General supplies:
Reflections 110lb heavyweight cardstock for card base
White, black and red glitter cardstock
Concord & 9th "Hi There Bear" stampset and dies
Memento Inks


Saturday, August 18, 2018

Happy Mail!

Happy Mail is something we all love. What fun it is to find a handmade card from a crafty friend in the mailbox! Well this is Happy Mail with a difference. My mousey make for this fortnight was inspired by some organizational Youtube videos I was watching while sewing, where pin boards and peg boards were used for inspirational quotes in the organised space.


I used patterned paper for my card panel that resembles a cork board and added a frame cut out of silver metallic cardstock with stitched rectangle dies so that I had a faux stitched line in the center of the frame. I then created 3 little envelopes and inserted a little House Mouse in each one. These are from the stamps I had recently found in the destash sale. I stamped them onto Strathmore Paint Pad paper with Memento Tuxedo Black ink and colored them with my Prismacolor pencils.


I inserted each mouse into a little envelope and glued it onto my pin board. I stamped the happy Mail sentiment onto a small Post-it note and added brads to each item to represent push pins.


I also glued two stickers from my stash onto the pin board. Some additional brads dotted around the board completed the look.


I then mounted the "board" onto a piece of thin craft foam and then onto a top folding cardbase.

General supplies:
Strathmore Paint Pad paper
House Mouse Designs stamps from my stash
Reflections 110lb heavyweight cardstock for card base
Prismacolor pencils
Stitched rectangle dies
Patterned paper
Metallic silver cardstock
Stampabilities Everday Expressions stampset
Concord & 9th Perfectly Penned stampset
Brads and stickers from my stash
Craft foam


Sunday, August 12, 2018

Bear room inspiration

Today I have another bear card to show you. I like to include a handmade thank you card with any custom teddy bear that I create. I am about to complete a 36 inch (90cm) teddy bear dressed in a pink dress that will be heading across the ocean to Europe. So it is no surprise that my workshop inspired this card, a bear in a pink dress floating at the end of balloon strings.


I used Conie Fong's Bella with Balloons and colored her and the two side balloons with my Prismacolor pencils. My favorite brown combo for bears is Dark Brown, Chocolate, Light Umber and Gingerroot and so used it here on Bella. 


I colored the middle balloon with gel pens, a normal pink and a glitter pink and then added the dots with white. I cut the image out with a tattered edge die.


I added a pink Thank You sentiment to the card and then went totally out of my comfort zone and added some lace around the edge. This card needed more "girliness" than just pink. I then adhered the laced focal image to the cardbase.


The bear and card will be making getting their travel papers in the middle of this week and will be heading home.

General supplies:
Strathmore Paint Pad paper
Conie Fong's Bella with Balloons digital stamp
the Paper Studio Sophia Grace cardbase
Prismacolor pencils
Pink, glitter pink and white gel pens
Pink cardsstock
Tattered edged die
Thank You die
Lace


Back to Top